In this lesson, students will:
- learn the characteristics of fish.
- create a three-dimensional sculpture.
- compare fish to other marine animals.
© Brocken Inaglory
Lots of animals live in the ocean - but they aren't all fish! In this lesson, students will learn the characteristics that make an animal a fish, create a model of a fish, and compare it to other marine animals to decide if they are fish or not.
In this lesson, students will:
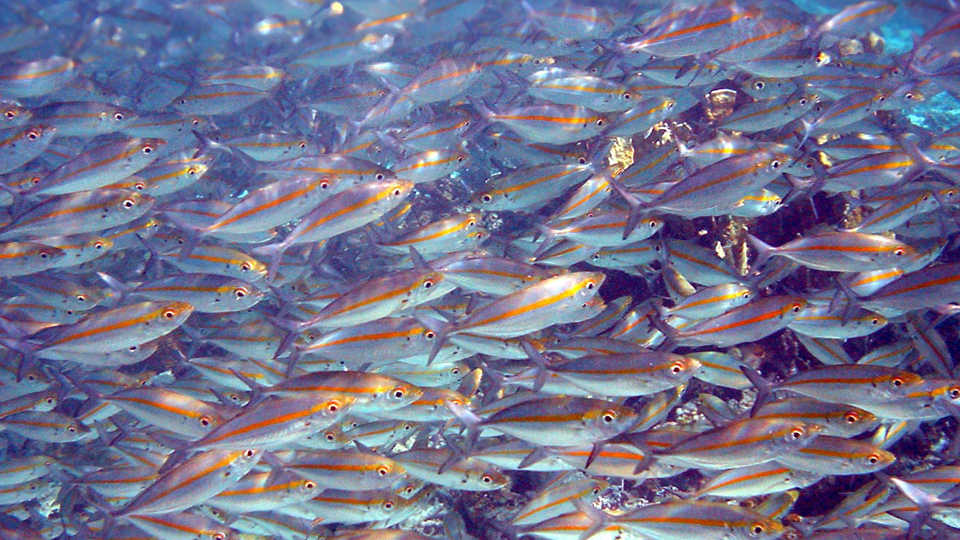
There are more types of fish than all other groups of vertebrates combined - over 27,000 species have been described worldwide (Florida Museum of Natural History). With that many species, there is a lot of diversity. Fish come in many shapes and forms, with each adapted to their specific habitat and niche. Despite the diversity, all fish have these characteristics:
There are exceptions to these rules: hagfish are fish, but technically are not vertebrates (UC Berkeley), and different types of fish have different numbers of fins. Sharks are fish but they have some slight tweaks to these characteristics. Their scales are modified into structures called dermal denticles, protecting their skin with a rough texture. Bony fish, which are the focus of this lesson, have only one gill slit, or operculum, but sharks will always have five or more. Stingrays are related to sharks, making them fish as well.
Knowing what qualifies as a fish also helps us understand what sea creatures are not fish. Jellies and sea stars, often called jellyfish and starfish, are good examples. These invertebrates lack a spinal column, scales, fins, and a mouth in the front of the body, disqualifying them as fish (they do have gills, and some species of jellies and sea stars do have light sensing cells that allow them to detect light and dark, similar to an eye). We can also apply this to marine mammals. Sometimes whales and dolphins are mistakenly called fish. While they do have fins, eyes, a mouth, and a spinal column, they do not have scales or gills – marine mammals use lungs to breathe air, just like humans.
Kindergarten
Life Sciences
Visual Arts
Grade One
Visual Arts
Grade Two
Life Sciences
Scientific and Engineering Practices
Disciplinary Core Ideas
Cross-Cutting Concepts
Related Performance Expectations
Florida Museum of Natural History, “Most Commonly Asked Fish Questions.” Retrieved on June 25, 2015.
UC Berkeley, University of California Museum of Paleontology. “Introduction to the Myxini.” Retrieved on June 25, 2015.
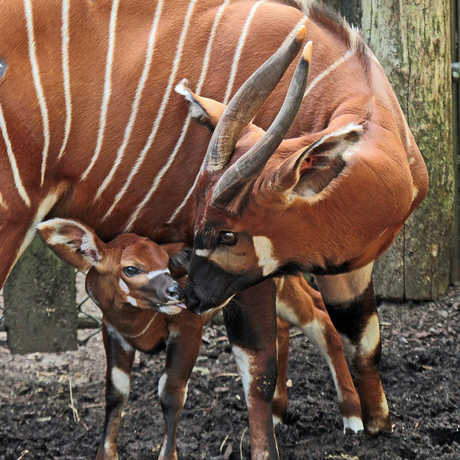
With just a few supplies from home, you can make a twisty set of bongo antelope horns in a heartbeat.
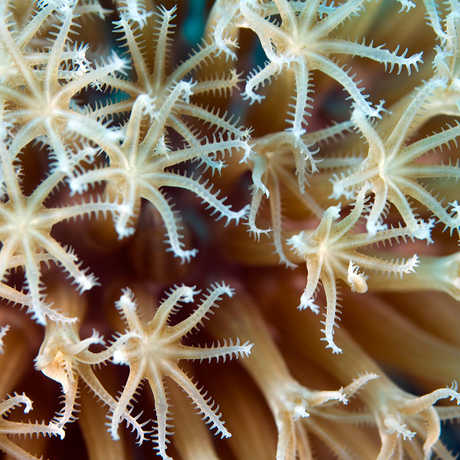
By building an edible polyp, you'll learn about coral anatomy and discover if it's a plant or an animal.