You Are Here: Introductory Activities


In this lesson, students learn how to sketch like scientists. You can teach it even if you think you can't draw!
During this activity, students will:
What makes a good scientific sketch?

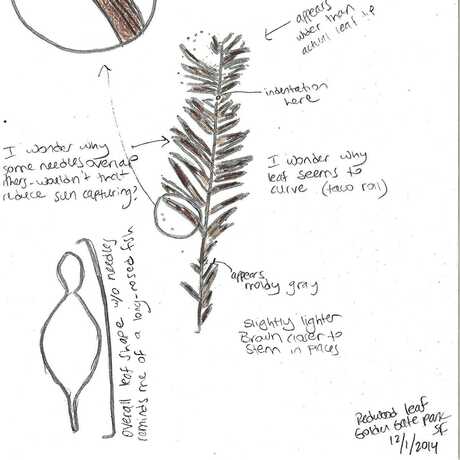
Most of us, adults and children, associate sketching with making a pretty picture. This association can limit us, especially if we feel we are not good at drawing. A scientist sketches to record and communicate information, not to make art. Along with a drawing, a scientific sketch often includes labels and diagrams, questions and explanations. You don’t have to be an artist to create a successful scientific sketch. You simply have to take time, observe closely, and record what you see.
Recording what you see is different from drawing the picture you have in your head. Many of us have cartoon-like images in our head of trees, flowers, houses, apples, rabbits, etc. When you set out to sketch a real thing, it’s important to focus on the individual specimen in front of you, rather than the generalized image you carry in your head. You can help students understand this by focusing on particularities of an example object – like a leaf with holes in it, or an irregular rock. These particularities are often very important for scientists to record.
One way to help students feel successful is to give them a few practical suggestions for how to sketch a given object. At the very least, give them a first step (this will vary depending upon the object), so that they know how to get started. [See the Scientific Sketching PowerPoint for an example of a step-by-step process for drawing a redwood leaf.] If you provide enough scaffolding, even those students who feel they are “bad at drawing” will have an entry point. It’s very likely those students will come away surprised at their own abilities.
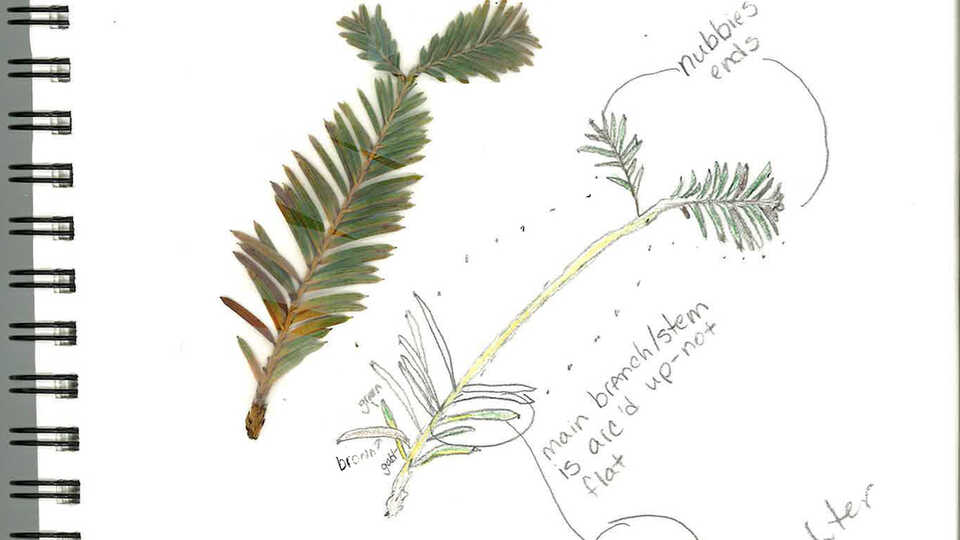
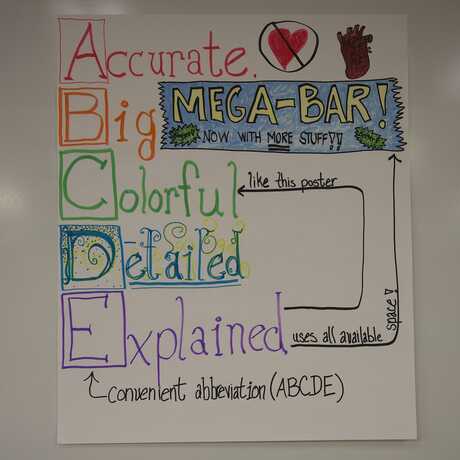
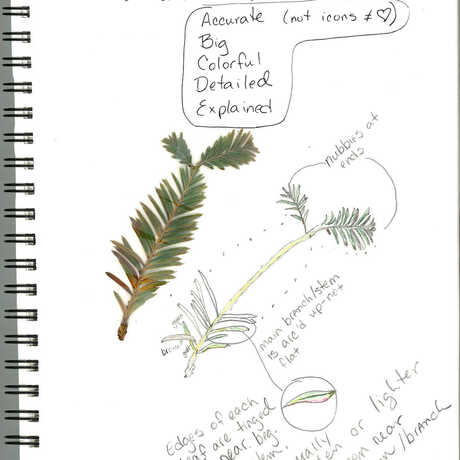
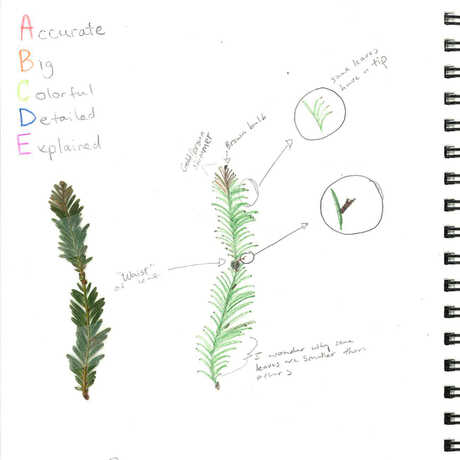
The pneumonic ABCDE [i] gives students a clear idea of what makes a good scientific sketch. It also enables you, as a teacher, to give meaningful feedback to students. Rather than praising a drawing as “pretty,” you can say, “Great job making your sketch big; it really helps me see the details,” or “I’m glad you included explanations in your sketch; they will help another scientist understand what’s important.” For constructive feedback, try: “What could you do to make this sketch more accurate?” or “I bet adding color would help another scientist understand what the object really looks like.” This kind of feedback is concrete enough for students to understand why they’ve done a good job, and what steps they can take to improve their work.
[i] (Full Option Science System: Science Notebooks In Grades 3-6, p. 16)
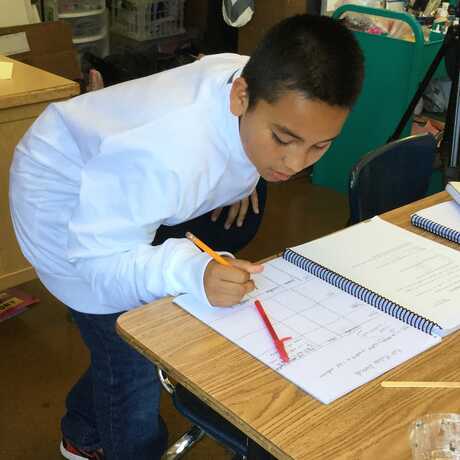
1. Have students retrieve their notebooks, open up to a new page, title it “Scientific sketch” and add this page to the table of contents.
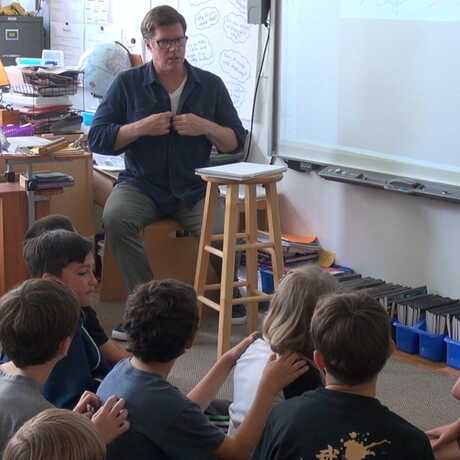
2. [SLIDE 1] Introduce students to the purpose of a scientific sketch. If possible, do Science Notebooks Across Time as a prep lesson before this one, so that students have already discovered why scientists sketch. If you haven’t done that lesson, you can explain that scientists use sketches to capture information for themselves, and communicate information to others. They often sketch when they are doing field research, observing a plant or animal they cannot take back to the lab. Sketches are sometimes more valuable than photographs because they can include specific data the scientist wants to highlight, as well as the scientists’ observations and questions.
3. [SLIDE 2] Put nervous students at ease by emphasizing that a scientific sketch is not about making a pretty picture. It’s about communicating information.
4. [SLIDE 3] Introduce the criteria for a successful scientific sketch. Explain the meaning behind each word in the pneumonic: ABCDE
5. [SLIDE 4] Explain that students will be practicing scientific sketches with leaves (or whatever object you have chosen). Their task is to make a sketch that is specific enough that another student will be able to pick their leaf from a pile, based on the sketch alone. Depending on the age of your students, you may want to front-load all the directions, or give them a few steps at a time. [ii]
[ii] We learned these sketching techniques from naturalist John Muir Laws.
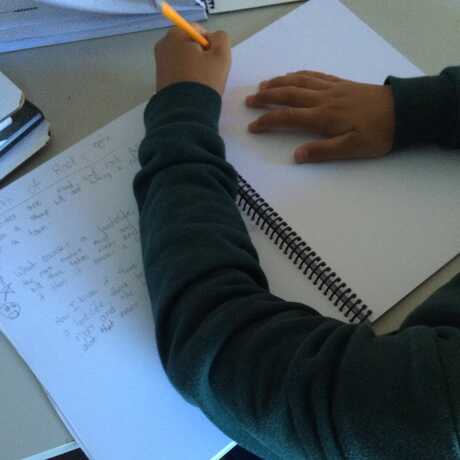
6. [SLIDE 10] Give students ample time to sketch their leaves, 15-30 minutes.
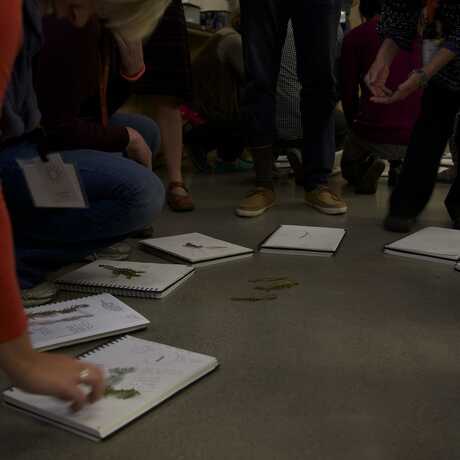
7. Explain that students will break into smaller groups of about 10 people, to play a Leaf Matching game. If you’d rather do this activity as a whole class, that will work too. It will just take longer. Each group needs to stand in a circle. Once you have arranged the group into small circles or one big circle, give the following instructions [ii] :
[ii] We learned these sketching techniques from naturalist John Muir Laws.
8. Ask students to share out what they noticed about the different sketches.
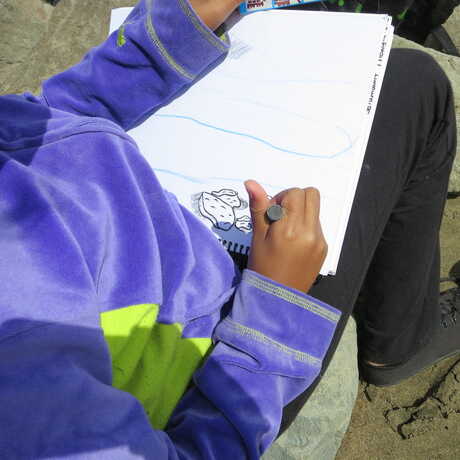
Scientific sketching is about looking at something so closely you notice something new.
Lay the foundation for sketching by explicitly teaching the following techniques.
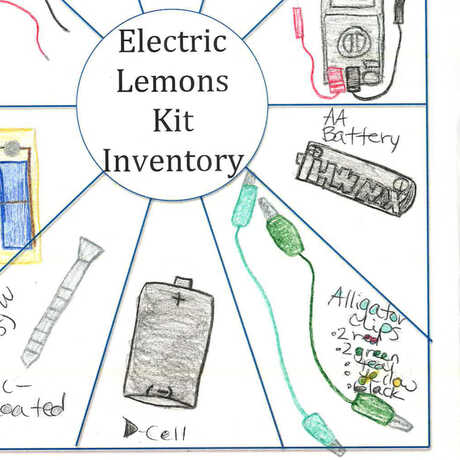
Use "windowpanes" to take stock of materials at the beginning of an investigative unit.
Learn how notebooks can help your students think and act like scientists.